
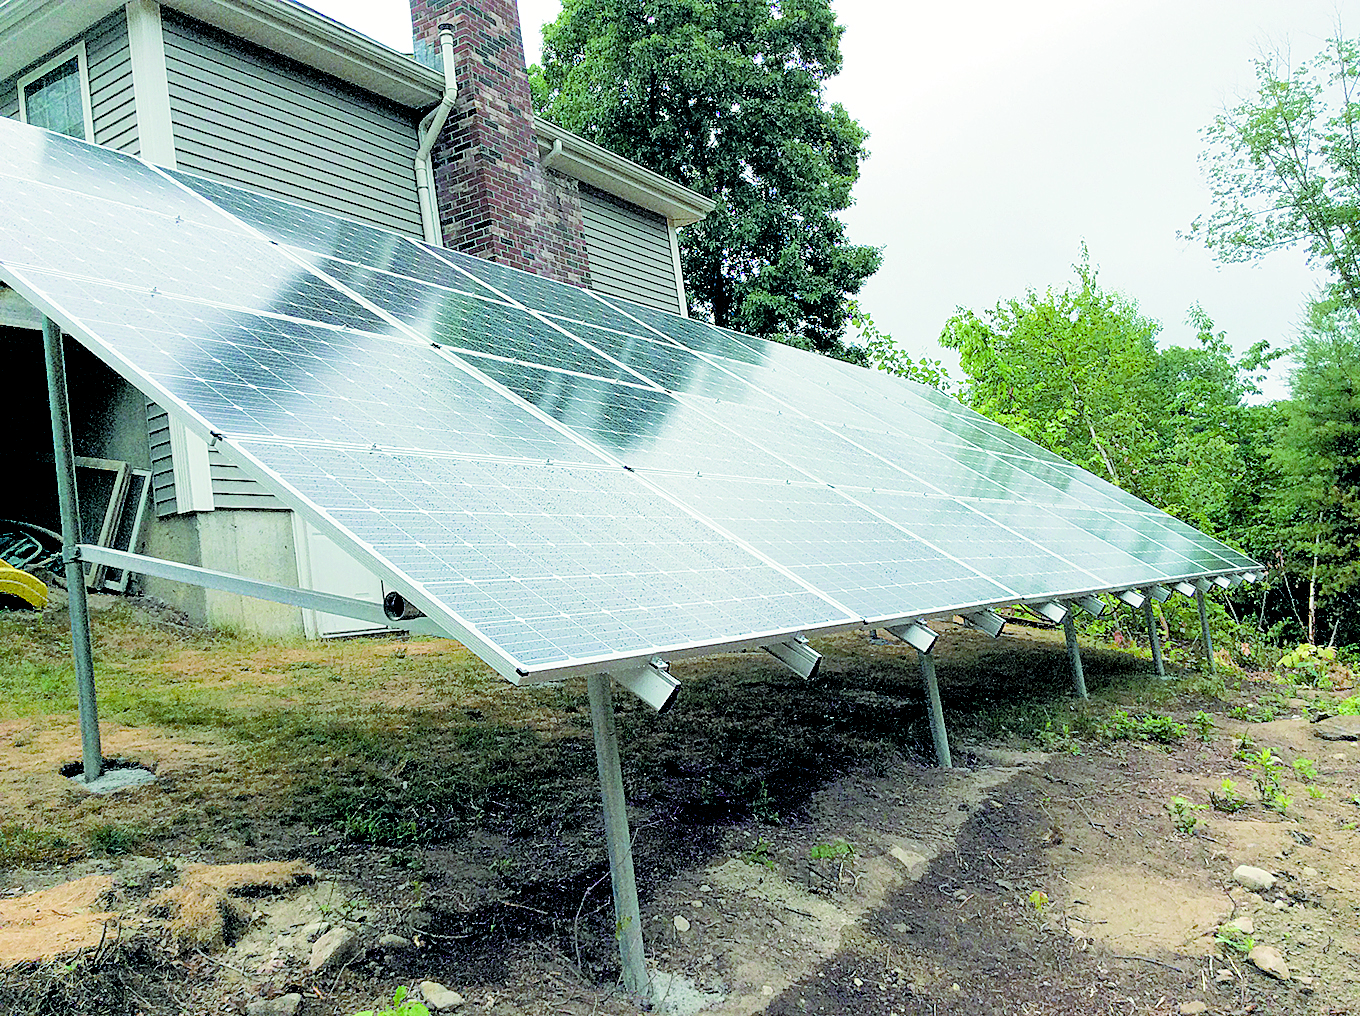
Self-installed, twenty-eight panel ground mount array. Photo courtesy of the Harrison Family.
By Michelle Harrison
Are you looking to go solar but want a better payback period? Are you good with hand tools? Are you willing to invest some sweat equity into your project? If you answered yes to these questions, you should consider a solar ground-mount self-installation and save a few thousand dollars.
The first step is to find a solar installer who is willing to sell you a do-it-yourself installation kit. The installer will help with the selection and purchase of the hardware and help locate a good spot for the array. The location must have no more than 20% shading to ensure you are eligible for the government rebates. New Hampshire requires a shading analysis as part of the rebate application. Your solar installer will be able to provide this.
The next item to research is the property assessment laws of your state or local government, as applicable. Some cities and towns treat renewable energy projects as an increase of your property value. Some treat it as a tax-neutral event. Some states have relevant state laws. Do not be afraid to challenge your local government to request a policy change, citing examples of the many towns out there that process renewable projects as a tax-neutral event. You can find this information on your state’s website. You will be happy you took the effort to do so.
Once you get your hardware quote, research the cost of panels and inverters. Installers may tend to favor certain products. These may or may not be to your liking depending on factors that are important to you such as product efficiency, place of manufacture, delivery charges, etc. Solar installers most likely can offer better product pricing due to quantity discount purchases, but it cannot hurt to do some research on your own.
One thing that was initially surprising is the size of the footprint needed for the ground-mount. If you have the opportunity to visit a solar array of similar size, do so. This provides a great visual to understand how to locate your array, and if a ground-mount is for you. While considering the design, allocate space if you think you may expand the array at a later time.
Once you have things in motion with the solar contractor, visit your town or city hall and get the required permits. If you plan on tying into the grid, contact your utility company and get your connection agreement approved. The solar contractor will then map out the position for the poles for the rack. This is when the fun begins. Give yourself time to dig holes. If you live in the Granite State, you are guaranteed to find plenty of rocks that will slow your progress. If you don’t, try your luck in the lottery!

Bruce Harrison working with an employee of
Milhouse Enterprises.
Setting up the ground-mount poles is next. This is a critical step and takes patience. Your level will be your friend. The proper set-up of the rack is important to achieving the desired array angle and level of your panels to achieve maximum solar exposure.
Installation of the microinverters and panels is next. It is important to get the first, lower row of panels on properly as the other panels sit on top. If the first row is not even, the rest of the array will follow suit. If you need help installing the panels, check out the many community solar- raising groups available to help. The next step is to plug all the inverters to the panels and the inverters to the trunk cable. The number of trunk cables you have depends on the size of your array. The final step is to run the electrical connection from the solar array to the breaker box. Do not try this if you are not qualified to do so; it is best for someone familiar with the electrical codes to do this work. Your solar contractor can help.
Congratulations, your solar array is now complete! Time now to get the city or town to complete its inspection. If you are tying back to the grid, complete the appropriate paperwork, including a copy of the approved inspection, to your utility company. This will initiate a meter change-out to one that can run backwards. A huge smile will go on your face when you see the utility company drive up to change your meter. Now you can turn on your breakers and run your solar array. You will get lots of satisfaction watching your meter run backwards!
If your location offers Renewable Energy Credits, make sure to sign up for that program. Through the course of the year, you should receive a few hundred dollars back.
We hope these pointers help you in your solar decision and saving some money. Do your homework, but do not delay. Start your solar project while rebates are still attractive.
Michelle and Bruce Harrison installed an 8.4 kW system with SolarWorld solar panels and Enphase microinverters on an Iron Ridge racking system with the assistance of Milhouse Enterprises. It is expected to produce 10.15 kWh annually and have a nine-year payback period. It will offset the Harrison family’s carbon footprint by an estimated 30 tons of CO2 equivalent per year. Michelle has worked with Green Energy Times since 2013 and is currently the Coordinating Director and Marketing Team Leader.


Leave a Reply